
How To Plan An Online Summit Part 3: Set Up Your Website
 We’ve reached part 3 in the ‘How to Plan An Online Summit’ series! Part 1 was all about determining your niche, topic, and offer, while Part 2 covered all things summit speakers. If you haven’t had the chance to read those just yet, take a second to review those before moving forward. Trust me, you are going to want to stick to the order of this series!
When it comes to your summit website, there are some big decisions to make. It involves a lot of moving pieces, but it’s an important part of the process.
Decisions to make for your summit’s website
Below is a rundown of the choices you’ll have to make for your summit’s website. Use these questions as a guide to make ensure things are set up properly for your summit needs!
What platform will you use?
The platform you select will play a big part in what you can do with your summit and contribute to your final results. For example, I use WordPress and love that I can do anything I want (however, I'm also a developer, so that's an extra advantage I have). I’ve also seen summits hosted on ClickFunnels with great results.
On the flip side, I’ve talked to several people who have used HeySummit. However, they’ve gotten really caught up in the limitations. With HeySummit, they’ve either seen major decreases in their profitability because of those limitations or have switched platforms altogether.
Quick note: HeySummit is adding new features all the time, so I’m sure they will end up being an amazing platform to choose from in the future! I’m keeping a close eye on them!
If you’re looking for an in-between option, Squarespace may be your go-to. It’s easy to build out pages on this platform, but just a heads up, some integrations may be slightly more difficult or not possible with Squarespace so it could affect your overall results.
Should you use your current website or make a new one?
If the platform you choose to use for your summit is the same as your main website, you'll need to decide whether you want to host your summit on your main website or create a new one.
Just to give you a little look behind the curtain, even though my main business website is hosted on WordPress, I chose a new Wordpress site for my summit.
I didn’t want to add more clutter to my current website since there are so many new pages and plugins involved in creating a summit website. Plus, I wanted to brand my summit differently than my business.
However, there is no right or wrong answer here. Do what fits best with your goals and tech abilities.
Pages to create for your summit
Once you’ve selected your platform of choice, it’s time to set up all of the pages for your website.
Pages to keep in mind include:
- Registration
- Thank you + Upsell
- Sales page
- Speakers
- Schedule
- Presentation
- Terms and Privacy
Now that you’ve got your “must build” list, let’s break each page down to give you a better idea of what to include and why!
Registration
I would consider the Registration page to be the most important page on your website (quickly followed by the thank you page, coming up next). This landing page is where people will learn about your summit and sign up to participate.
With your registration page, you should include:
- Who the summit is for
- What results they'll get and what problems you'll solve
- Hit on their pain points and the transformation
- A list of presenters and topics
- When the summit is
- What to expect
- Who you are
- Several registration forms
- Frequently asked questions
While this is can be a lot to cover, I certainly recommend including it all. Use the above bullet points as a checklist!
Avoid these mistakes with your registration page
- Focusing too much on what you're trying to sell: Your focus should be on getting participants registered for free. However, if you mention your upsell at all on this page, make it a casual mention. Don’t try to sell it right on the page.
- Including the full summit schedule: It’s important to give people a place to view the full summit schedule if they like, but don’t put the full schedule on the registration page. Instead, show who is speaking and what topics are being covered. Save that schedule for after registration!
- Not giving enough information to visitors: Your registration page is NOT the place to be lazy with your copy. Think of this as your sales page. You want to hit pain points, illustrate the transformation your attendees can expect, and include all of the bullet points listed above!
Thank you + Upsell
This will be the first page visitors see after completing the registration form. Your first priority is to thank attendees for joining in on the event and what they can expect next. Then, while you have them excited and committed, give them a special offer to whatever you’re selling during your summit.
I like to do both of these things through a video at the top of the page. Underneath the video, I include more information about the upsell.
Sales page
In addition to having information about what you're selling on the thank you page, you'll also need a separate sales page to send people to after they’re registered. While I like to keep these pretty short, I make sure that I include information on pain points, the transformation, what’s all included, and the cost.
Speakers
Many people don’t have this information featured on their summit websites, but I think it’s so important. If it weren’t for your speakers, you wouldn’t have a summit! Your website is a great way to feature them.
What to include for each speaker:
- Name
- Presentation topic
- Bio
- Headshot
- Website link
Schedule
Since we’ve already covered that I don’t recommend having a summit schedule right on the registration page, it will need a page of its own.
Along with basic information like time, title, and presenter - I like to include Google Calendar links so attendees can add presentations to their calendar. This is a great way for them to get reminders about the upcoming summit events!
Presentation
Each presentation should have it’s own page to be hosted on. This page will be pretty standard for each presentation, so make a template and duplicate it for each presenter.
This page includes:
- Presentation title
- Speaker name
- Video
- Chat box
- Relevant links (ex: relevant offers or freebies, speaker website, summit upsell)
- Optional: Speaker headshot and bio
Speaker information
This page will serve as a hub for all of the resources for your speakers. Include details on the summit and how it will all work and go down during the event.
Having this section of your summit website can also provide speakers with extended information about what you need from them, what they can expect from you, and links to swipe copy, graphics, and presentation templates.
You can also set up this speaker page as a way for people to schedule their presentation. It can serve as a go-to spot for them to learn about your summit as well when you are in the pitching stage. The page can also come in handy when they start asking questions down the road - all you have to do is drop the page link in your response.
Affiliate and/or sponsor information
If you have affiliates or sponsors, this may end up being two separate pages, but similar to the speaker information page, you'll include all of the information affiliates or sponsors would need here.
In addition, for affiliates, you need a way for them to create and access their account as well as see the level of commission you're offering. For sponsors, you may not need swipe copy and resources, but instead, provide information on the levels of sponsorship available and the reach/exposure they can expect.
Features to add to your summit’s website
After your pages are created, it’s time to add in the special features. This isn’t an exhaustive list, but we’ll briefly cover some of the more important pieces to include on your summit website.
Upsell
If you're selling something through your summit (and you should be), you'll need a way for attendees to purchase and then access that product.
Price increases
Price increases are a huge part of my recommended strategy and if you can automate it, rather than doing it manually, you'll thank yourself later. For this, I recommend Deadline Funnel (affiliate link).
Page expiration
Most summits allow attendees to access presentations for 24-48 hours after the original air date/time. That means, you’ll need a way for those pages to expire after that time is up. You can either plan on removing presentations manually or use a tool that does it for you once the clock runs out.
Chat
Whether your presentations are shared live or pre-recorded, chats are a great way to increase engagement on your summit website. Chatroll is one of my personal favorites to use for summits.
Email Marketing
There are several places you'll need to integrate with your email marketing software. From registration to after someone purchases entry to your summit, emails will play a part in the process. Don’t forget to incorporate this feature into your summit website buildout.
Get to work and set up your summit’s website!
Alrighty my friends, did you catch all of that? This part 3 certainly had a lot of information to cover, but each section is just as important as the last. Make sure to go over this content with a fine-tooth comb for your upcoming summit!
Your summit website is obviously a huge part of your event and has a large part to play in the conversion rates you’ll get. Take it one step at a time to make sure nothing is missed.

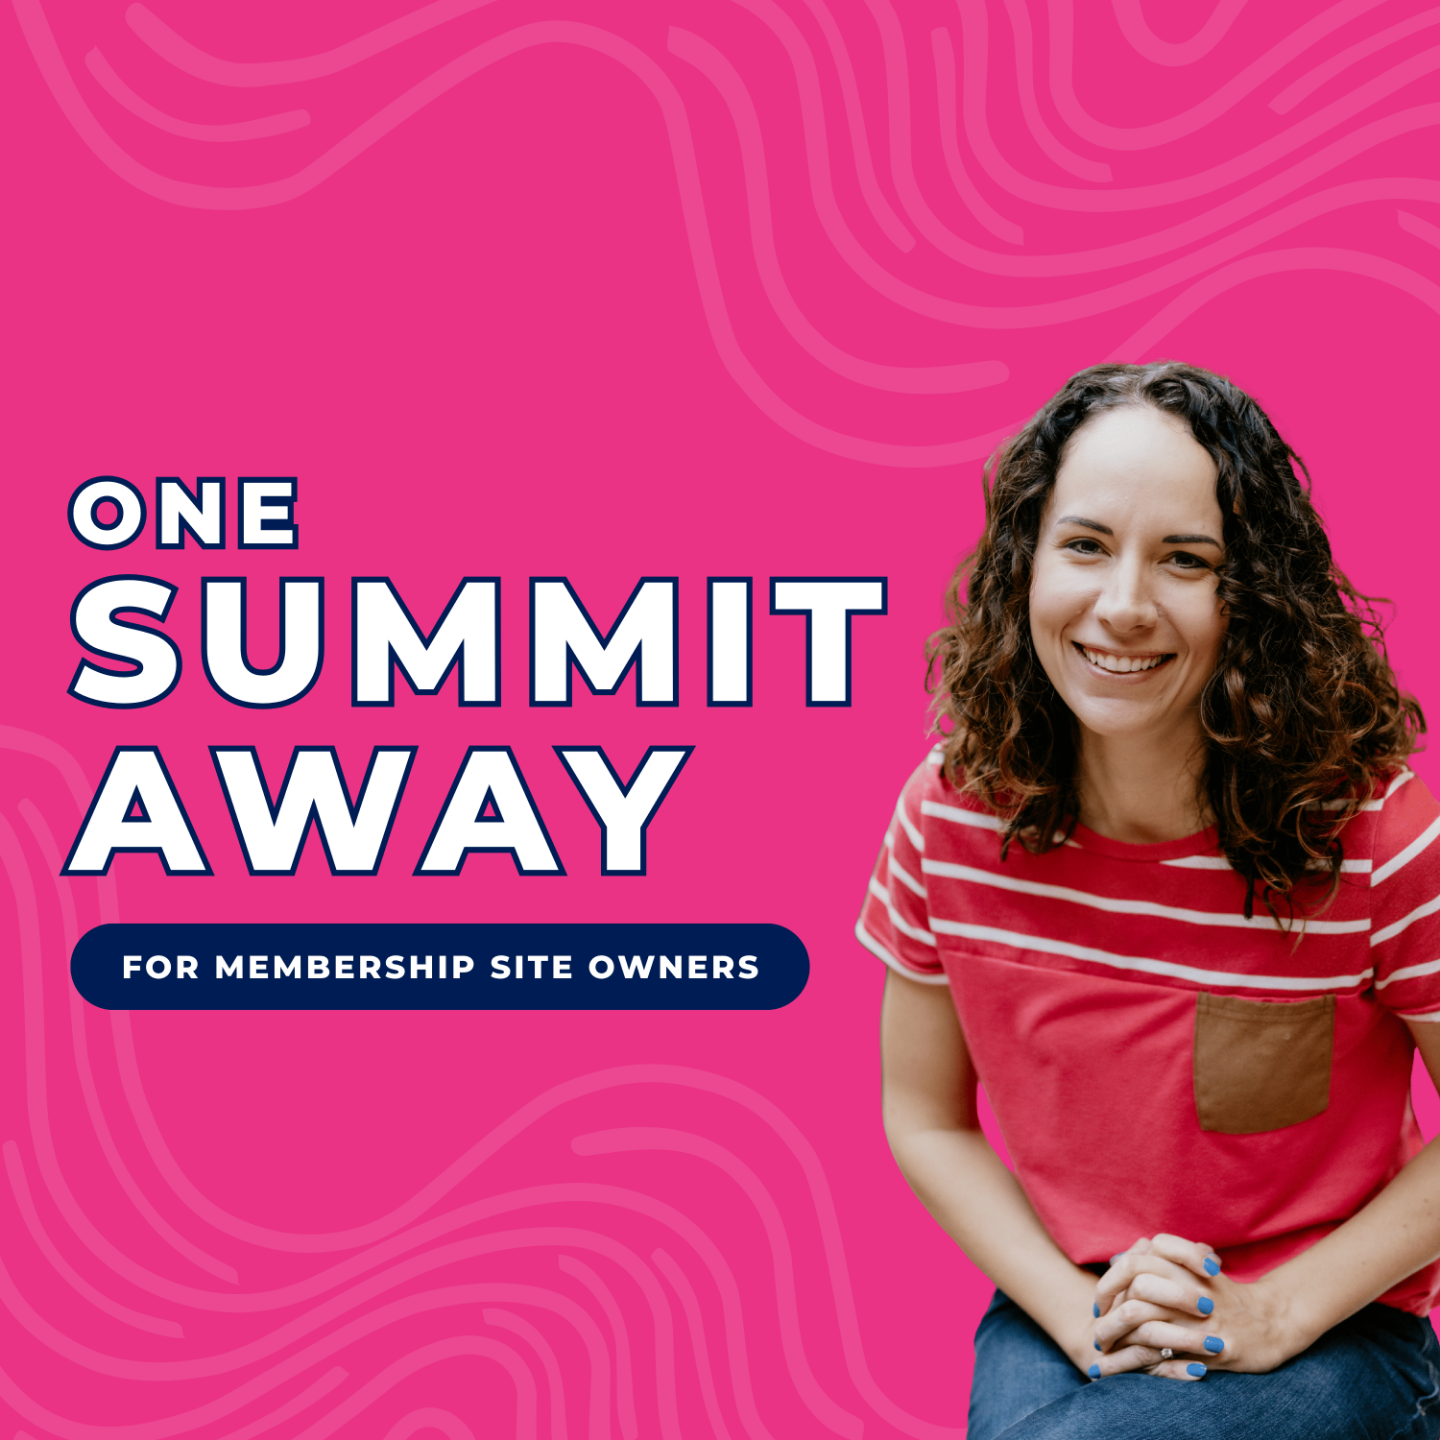
One Summit Away Private Podcast for Membership Site Owners
In 10 short episodes, get a behind-the-scenes look at the summit strategy built specifically for membership owners. Learn how to attract the right people, convert them into members during the event, and build the kind of momentum that sustains your membership long after the summit ends.