
The Must-Have Pages for Your Virtual Summit Website

It's a big task to set up your virtual summit's website. With all the different summit setups you've seen, you might wonder where to start, which pages to focus on first, and what you actually need to host a successful event.
So many tasks that you complete for your summit rely on how the event will run and the messaging you've decided on. For example, without your registration page, you have to struggle to find the right words every time.
But with your registration page created, all you have to do is pull it up, scroll through the page, and pull the perfect phrase that you've already crafted.
To help, today we'll talk about:
- 5 must-have pages for your summit website and what they are
- a few that are more in the "nice to have" category
- a couple of bonus website tips
Let's dive in!
Must-Have Virtual Summit Website Pages
Let's start with the 5 must-have pages on your summit’s website. After we go through these, we'll cover some of the nice-to-have pages as well.
I use all of the pages we'll cover in this post, but if you're just trying to make it happen, it’s your first event, or you're not tech-savvy, then just focus on this first section.
If you're a Summit in a Box® student, we have copy templates and website templates for everything we'll talk about in the Resources section. If you're not a Summit in a Box student, learn more here.
Registration Page
The first must-have page is your registration page. This serves as the homepage for your summit website and it's where your summit promotion is linked to.
Basically, it's the first impression everyone will have of your event, will help them decide whether or not to sign up, and gives them the ability to do so...it's kind of a big deal!
Here are some registration page resources to help you get started:
- Free Guide: 19 Keys to a High-Converting Registration Page
- Blog Post: What to Include on Your Virtual Summit Registration Page
- If you’re a Summit in a Box® student, you have our complete registration page copy and website templates available to you.
All-Access Pass Sales Page
The second must-have page is the all-access pass sales page. This is where your attendees will be taken right after they register and it's what will sell your all-access pass throughout the entire event.
The purpose of this page is to:
- point out why your all-access pass is a value-add for your attendees
- detail what's included
- give the attendees the opportunity to upgrade
I recommend that you have a couple of versions of this page. Each page is almost exactly the same, the only difference being the countdown timer deadline and pricing.
- Fast-action – This version has a limited-time offer that attendees will see right after they register for 15-20 minutes.
- Early bird - This version has a limited-time offer available only until the summit begins.
- Regular price – This version of the page will have the regular price that you can direct attendees to throughout the rest of your event.
Check out this podcast episode and blog post for more information on all-access pass sales pages.
Event Schedule Page
The next must-have page is your event schedule to give attendees a central place to go to see when each session is happening.
This page doesn't have to be fancy. It can be as simple as a bulleted list of what's happening every day and when.
But you can always choose to get more detailed by adding in speaker headshots, break things out by day, add design elements, or embed a calendar.
Presentation Pages
The fourth must-have page is your group of presentation pages. These are more of a special case because there are some summit setups where presentation pages are a must-have and some setups where they're not needed at all.
For example, for someone hosting a live event, you probably share a link to something like Zoom, rather than having a video embedded on a page. But for those of us who go the pre-recorded route, you need to have pages set up to house your presentation videos.
Since you'll need a separate page for each individual video, save yourself some time by making a template of what you want the pages to look like. From there, duplicate it (or have an assistant duplicate it!) as speakers submit their presentations.
Check out this podcast episode and blog post for more information on presentation page basics.
Presentation Expired / Coming Soon Page
The final must-have page, which can be two-in-one, is your presentation expired and presentation coming soon page. This is where attendees are redirected if they click a presentation link before it’s live or after it’s expired.
Technically you could redirect them to the registration page, but you'll have fewer angry and confused emails if you redirect them somewhere that:
- tells them why they can't see the presentation
- links to the schedule page
- shares how they can get extended access with your all-access pass
I like to do these as two separate pages, which is what we had templates for inside of Summit in a Box®, but if you need it simple, it can be one page.
Nice-To-Have Virtual Summit Website Pages
Now let's move into our nice-to-have website pages. These are pages that can enhance the experience for speakers, affiliates, and attendees while making things easier on you. If setting up a website isn't your thing, you’d survive without these pages.
Waitlist Page
First up is a waitlist page for before summit registration opens and after it closes.
If you won't be talking about the summit before registration opens, you wouldn't need this, but there are some people who like to do a full campaign promoting their waitlist before the summit starts.
However, you will want to have a waitlist page once your summit is over since people will still come across emails and social media promotion that they didn’t see in time.
The waitlist page is a great way to:
- tell them the event is over
- invite them to sign up for updates on the next run of the event
- promote your all-access pass for presentation replays
Purchase Thank You Page
Next up is your purchase thank you page. This is a page that thanks all-access pass buyers and includes instructions on how to log into their account. If you're going to send an email with that information, let them know to look for it.
You could also choose to redirect them straight to their all-access pass content or a login page, but I like to bring them to instructions to cut down on the number of support emails.
Speaker Information Page
The next page we'll talk about is one of my very favorite pages, and that's the speaker information page. It’s nice to have because it isn't required, but it makes things easier for you and creates a great experience for your speakers.
The purpose of this page is to be your speaker's one-stop-shop for absolutely any information and resources they need throughout the summit - from deciding whether the event is a good fit for them, to submitting their presentation, grabbing promo resources, and more.
I love including a link to this page right in my speaker pitch. That way, I can keep the pitch short and sweet, but also have all the information they’d ever need readily available.
This can also go far to show potential speakers that you have thought through the event and have your act together. As you move forward, it cuts down on the number of emails you have to answer from speakers because they know to go to this page for the information they need.
Affiliate Information Page
Similarly, the next page is an affiliate information page and another nice-to-have if you have affiliates. This page includes similar information to the speaker information page, minus anything about speaking.
This page would include:
- event information
- where to get affiliate links
- promotional resources
- important dates, such as when promotion starts and ends
It’s great to include this page so affiliates have one place to get everything they need.
Meet The Speakers Page
The last page we'll talk about is what I like to call "meet the speakers". On this page, include the names, headshots, bios, and links for all the summit speakers.
I don't think this page is used a ton, but there are always attendees who want to connect with speakers more so it's nice to have all that information in one place outside of your registration page, where it would just be a distraction.
This also shows your speakers that you're happy to show them off!
Bonus Virtual Summit Website Tips
Since we're on the topic of your summit website, here are a few bonus website tips:
- Skip the menu on pages with a specific call-to-action. For example, on your registration page, your specific call-to-action is to register, and on your all-access pass sales page, you want them to buy your all-access pass. You can include important links in the footer of your website, but avoid a menu at the top of the page.
- Make it easy for all-access pass buyers to log in and out of their account. Like we talked about before, you can redirect customers to a thank you page that provides instructions for their first login. From there, send an email with those same instructions and include a login link on every page of your summit website in the footer for easy access.
- Have your privacy policy and legal terms linked in the footer of every single page on your website since you're collecting attendee’s email addresses and credit card information.
Focus on the 5 Must-Have Pages
If tech isn't your thing, then focus on the 5 must-have pages the first time around. In round two, you can choose to go in and add a couple or all of those nice-to-have pages as well.


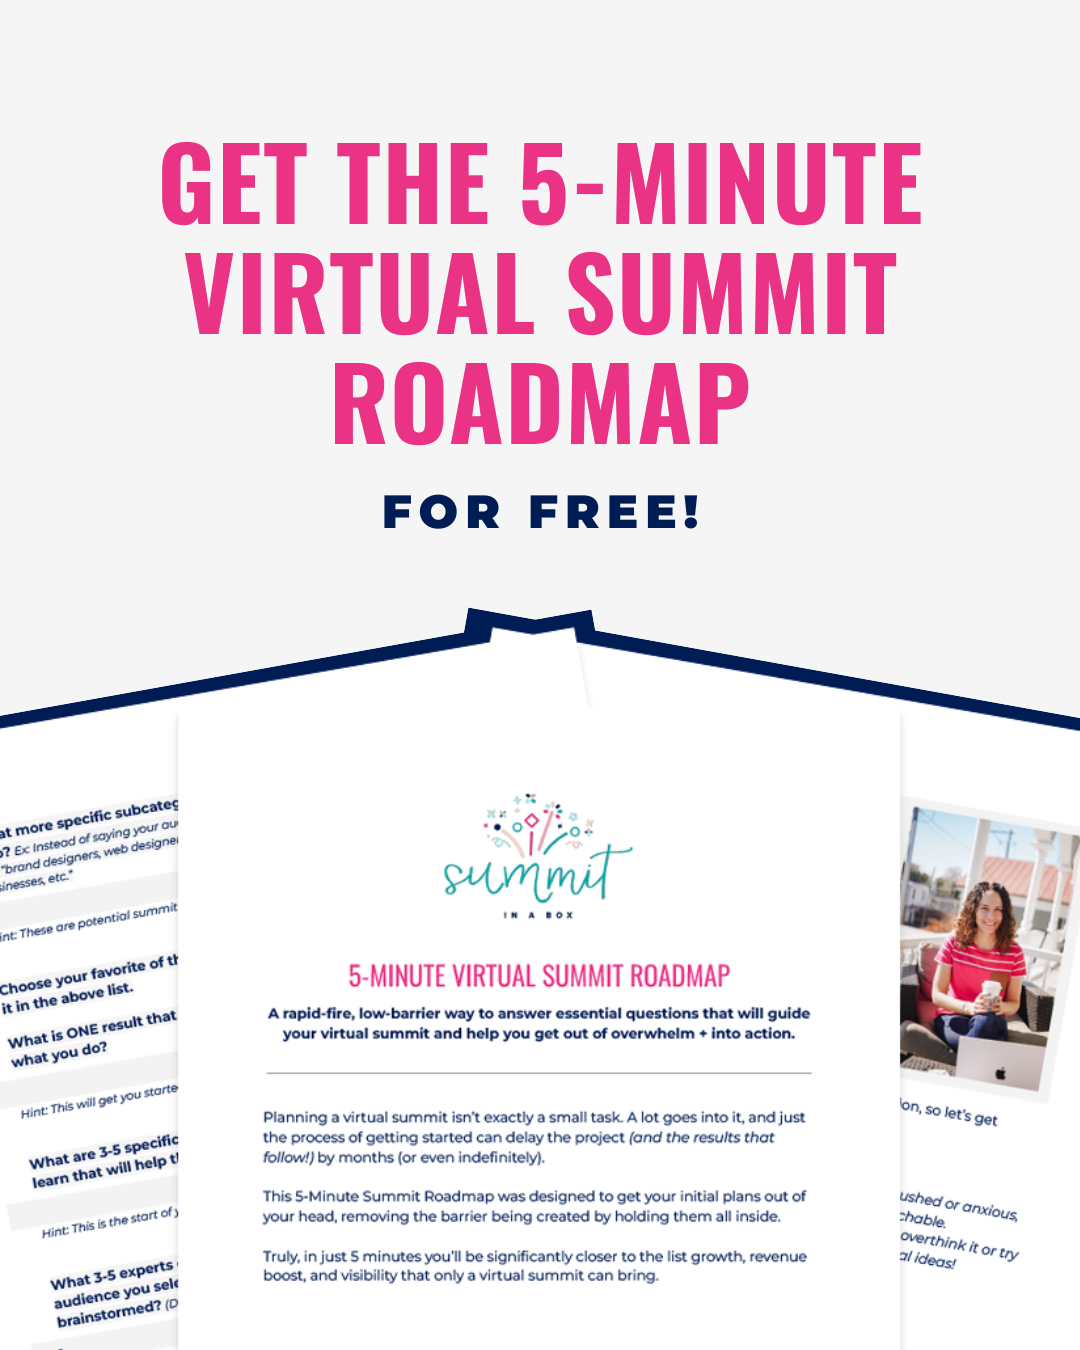
5-Minute Virtual Summit Roadmap
The 5-Minute Summit Roadmap leads you through the 7 essential questions that will guide the rest of your summit planning process and help you finally start making meaningful progress toward a profitable event.