
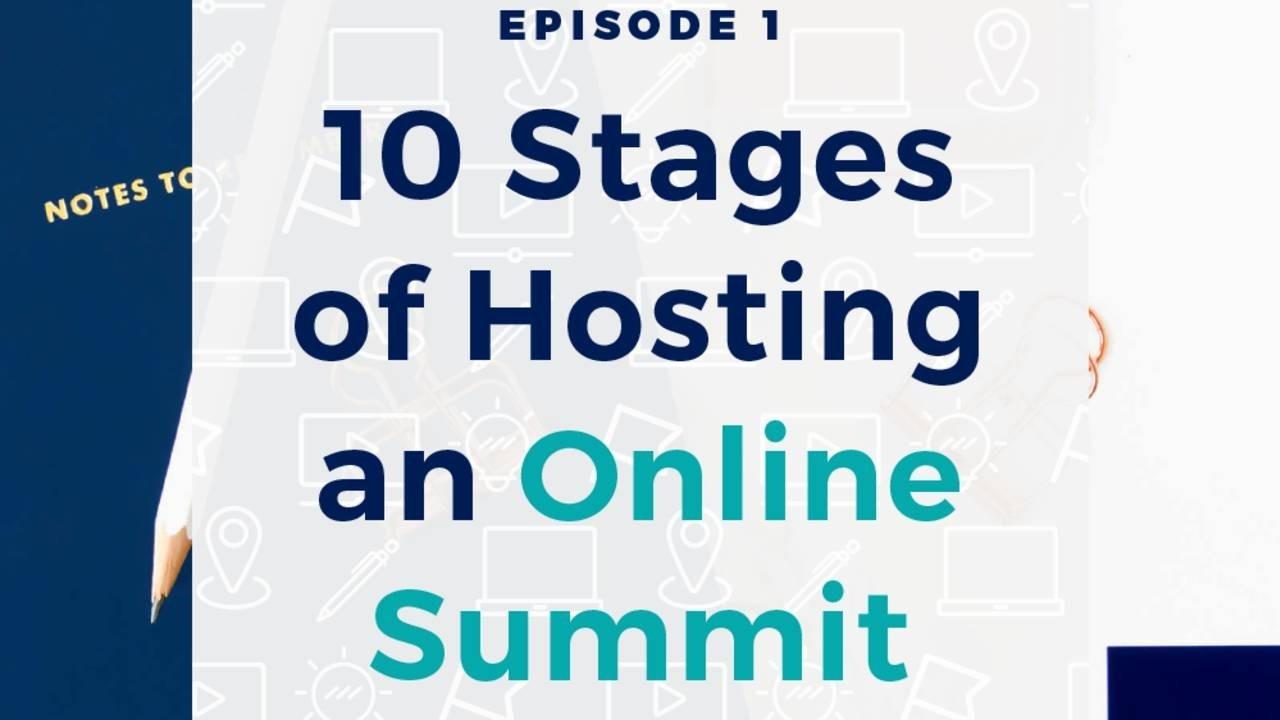
How to Host a Virtual Summit
 There are a lot of marketing strategies that we all "need" to be doing consistently. Content creation, social media interaction, webinars, email marketing, challenges...I could go on.
There are two problems with those strategies:
- It can take years of consistency to see results
- You need an existing audience of a decent size for them to be effective
If you're anything like me, you want a bigger email list, increased revenue, and expert status, like, yesterday.
That is what a virtual summit comes in. With a single virtual summit, you have the potential to...
- 3x (or more) your normal monthly revenue
- Double (or more) your email list
- Connect with 20+ industry experts, and
- Position yourself as an expert
You can do it all with a single event, without being a huge influencer.
Before my first summit, I had less than 500 people on my email list and I was making about $3-4k/month. My first summit tripled my email list, quadrupled my normal monthly income, and booked out my services for 6 months.

Sounds pretty great, right?
Let's get you started on the right path and cover the 10 stages of how to host a virtual summit.
As an overview, these 10 stages include:
- Goal setting and initial planning
- Website and tech setup
- Speaker outreach
- Speaker management
- Engagement planning and setup
- Sales strategy and setup
- Promotion
- Live event
- Event wrap-up
- Post-summit profits
Keep in mind that these stages don't necessarily happen sequentially. For example, while you're managing your speakers (Stage 4), you'll also be setting up your tech (Stage 2), planning for engagement (Stage 5), and more.
Stage 1: Goal setting + initial planning
Let's dive in with Stage 1 which is setting your online summit goals and doing some initial planning.
And I know it's tempting, but please, don't skip this step.
What you come up with here will truly make or break your summit success. It will decide whether you host a virtual summit that makes a couple hundred dollars versus an event that makes tens of thousands of dollars.
It really does matter that. much. But while this stage is vitally important, it doesn't need to be difficult.
Set your summit goals
There are a few pieces to consider when seeing your goals:
- What do you want to get out of your summit? Be specific with the number of leads and total revenue you're hoping to see.
- How do you want your speakers to benefit?
- What transformation do you want to create for your attendees?
Take the time to think this through. These goals will come up many times throughout your summit planning process and setting them now will let you make decisions more efficiently.
Initial planning
There are several things to consider with the initial planning of your summit including:
- Who the summit is for
- When it will take place
- How it will be set up
Decide who your virtual summit is for
This is where you'll decide what audience your summit is targeted to and what problem it's going to solve for them.
When you get specific with this, your summit will stand apart from the rest and your conversion rates will skyrocket.
To put it into perspective, consider a wedding planner scrolling through Facebook. Which summit ad is more likely to catch her attention?
- A summit to help online business owners grow their business
- A summit to help wedding planners book out their client schedule using Instagram
Big difference, right?
This will make the difference between industry-standard summit conversion rates of 3-5% versus the conversion rates that my Summit in a Box® students see of 15%+.
Learn more about deciding your summit's target audience here.
Set the date
After deciding on your niche and topic is when you can set the date.
When selecting when your summit will run, there are a few things to keep in mind:
- Avoid major holidays
- Avoid mid-late December - Many people are checked out for the holidays
- Avoid January - That means speakers would need to get you their material in December...when they're checked out
- Consider how your audience spends the summer months - If they're busy on vacations or juggling having kids at home, it's a time to avoid. Summer can also be a difficult time to get speakers to commit.
- Consider other busy seasons for your audience - For example, brick-and-mortar businesses are generally insanely busy starting in November as they gear up for the holiday shopping season.
A couple of these are generalizations, but they should all be taken into consideration.
See more about choosing your summit date and format here.
Map out your timeline
The last part of your initial planning includes mapping out the rest of your summit planning and launch timeline.
Since hosting a virtual summit is a big project, this can get overwhelming, but I recommend working backward.
Choose your start date and work backward to set due dates for all of your big-picture tasks. And give yourself 90 days! (Get a virtual summit timeline calculator here >>)
I know it's tempting to rush the process, but doing it right will get you significantly better results than throwing something up as quickly as possible. (I've seen it sooo many times)
Keep in mind that this 90-day minimum isn't just for you. Consider that you also need time to:
- Find, connect with, and pitch speakers
- Wait for the people you pitched to respond
- Allow them time to make presentations (or schedule an interview and have you edit)
- Promote
I have a freebie to help you out with your timeline planning that will:
- Walk you through the big-picture steps of hosting a summit
- Discuss more about why I recommend at least 90 days
- Calculate due dates for big-picture tasks FOR you
Get the Virtual Summit Timeline freebie here.
Stage 2: Website + tech setup
Let's dive into stage two, which involves your summit website and tech setup.
This is the part that tends to be the most overwhelming because there are so many summit tech options and there is no "right" option.
Really, the "right" option depends on:
- The features you want your summit to have
- How much time or money you're willing to put in to make those features happen
- The tech platforms you already use for your business
My personal platforms of choice are WordPress.org and Kajabi.
However, others have used and had success with Thrivecart, ClickFunnels, Podia, HeySummit, Squarespace, and more.
Because of this, my top recommendation is to use whatever platform(s) you already use for your business. Hear more about this in my podcast episode with Jaime Slutzky from Tech of Business.
The main features to be sure you include are:
- A way to add pages to a website and integrate with an email marketing platform (like ConvertKit). The most important pages include:
- Registration page
- Sales page
- Presentation pages
- Schedule page
- A way for attendees to purchase an all-access pass
- A way for attendees to then access that all-access pass
- The ability to integrate with a countdown timer, like Deadline Funnel
- The ability to integrate with a chatbox, like Chatroll
This is just scratching the surface as far as the website and tech go, but hopefully, it starts getting your wheels turning.
And remember, this doesn't need to be done before you can move onto Stage 3, but it's helpful to have it in the process. Bonus points if you can have the registration page as complete as possible before you begin pitching speakers.
See more of my recommended tech options and resources here.
Stage 3: Speaker outreach
Next comes speaker outreach, which I like to plan a full month for whenever I can. In this stage, I recommend that you complete the following steps:
- Brainstorm - Give yourself plenty of time to consider what topics you'd like covered at your summit. These topics should all tie into the overall summit topic that you decided on back in Stage 1. From there, brainstorm who would make a great speaker for each topic. Learn more about how to find summit speakers here. I recommend having a list of about 2x as many speakers as you actually need. That way, if someone turns down the opportunity, you already have a backup ready to go.
- Connect - To increase the chances of each speaker saying "yes", spend some time connecting with them. I like to do this on Instagram since it's easy to keep up with someone, post comments, share their content, and send messages back and forth in response to Stories.
- Pitch - Then, it's finally time to pitch. This is where brainstorming and connecting will pay off because it will make pitching quicker and easier. Learn more about how to hear "yes" more than "no" here.
Stage 4: Speaker management
Once you have your speakers lined up, you'll see that pitching was actually the easy part.
The hard part is managing them and there are a couple of aspects to keep in mind.
Gathering speaker information and content
Once your speakers have confirmed, you'll need to get some basic information from them to include on your registration page, in your summit schedule, etc. This information includes things like their name, title, website address, headshot, and planned presentation title.
And if you find that it's difficult to gather this information from them, you're definitely not alone.
A tool I've found that makes this process so much easier is Content Snare. It lets you create template forms to send each speaker, which is great. But the magical part is that it takes care of all of the follow-ups FOR you.
So if a speaker hasn't provided their information and the deadline is approaching, it will send follow-up emails (that you've scripted) for you. Once someone fills out their information, it stops emailing them. And you can set it up to send reminders as often as you'd like. All you have to do is set it and forget it.
Learn more about how I make the content-gathering process easy here.
Keep your speakers engaged
Along with collecting your speakers' basic information, it's important to keep everyone up-to-date and engaged throughout the process.
During this period, after you've gathered that basic information, you're giving them time to actually create their presentations.
The more engaged you can keep them during this time, the more likely it is that you'll have their presentations when you need them. Also, it'll be more likely that they'll actually share once the promotional period has started.
I like to keep my speakers engaged with a private Facebook group. I have all my speakers join and that's where I can go in about once per week and share updates, give encouragement and shout out anyone who has turned in their presentation early.
Learn more about keeping your speakers happy and engaged here.
Collect presentations in advance
Since we just mentioned keeping speakers engaged to increase the chance that you'll get their presentations when you need them, I'll let you in on a little secret.
Make the presentation due date at least three weeks in advance.
I know, it sounds crazy, but you need time...
- To load each presentation into your video-hosting platform (I recommend Vimeo)
- For speakers to be late
And they WILL be late. 100% chance.
Make promotion easy
Finally, the last major part of the speaker management process is making promotion as easy as possible. The easier it is for them to spread the word about your summit, the more they will.
You can make promotion easy for your speakers by providing:
- Email swipe copy
- Social media swipe copy
- Graphics
- A sharing schedule
The less they have to think about it, the better results you are going to see from it.
Get all the templates your need for promoting your summit for $27 here!
Stage 5: Engagement planning + setup
Stage 5 is planning and implementing your engagement plan for the summit. With engagement, I want you to think about how you'll nurture attendees once they register.
Keep in mind, your promotion period is 2-3 weeks long. Someone could register on Day 1 of that and totally forget about your summit by the time it actually rolls around.
Your goal with engagement is to keep attendees excited and engaged before and during the event. There are a few ways I do this:
- Email sequence - When someone registers, there should be a series of emails that go out to them regularly until the summit starts.
- Facebook group - This is an easy place to keep attendees updated, keep them excited, and get them talking to each other and to you. If you can get each attendee to engage once, they're more likely to do so again. I even like to do prizes based on engagement!
- Genuine connection - This is hard to do if you're running your summit through email, which is why I recommend using a Facebook group. You can comment back and forth, ask questions, and learn what your attendees need help with. Interacting with you plays a big part in getting everyone excited!
So brainstorming these aspects, planning out what you need to do to make it happen, and implementing is what goes into Stage 5.
Learn more about creating an engaging virtual event here.
Stage 6: Sales strategy + setup
Next up is Stage 6, which is all about your sales strategy! For most hosts, this will be sales of your all-access pass.
What will you sell?
Summits are free to register for and, with that free registration, attendees can access presentations for a limited time, and then there is an upsell afterward. Typically, the upsell is an all-access pass, but that's up to you to decide at this stage.
With an all-access pass, attendees get extended access to the summit presentations along with any bonuses you'd like to add.
How will you sell it?
Once you decide what to offer, it's time to determine how you'll sell it. For example, maybe leading your post-registration email sequence will include occasional pitches or you'll do a promotion at the end of your kickoff call.
How will you price it?
Also, consider your price and what kinds of price increases you'll do. I've seen all-access passes priced anywhere from $19 to $400. Base your pricing on how much value you think it's worth - don't sell yourself short!
Tech setup
And last, you'll set up the tech for your offer. Based on the platform you chose to run your summit on, you may be able to do this all in the same place (which is, of course, ideal).
Otherwise, you may need something extra like Teachable, Teachery, Podia.
Then comes the act of actually delivering the product once it's purchased. Once someone clicks the button and buys, how are they going to access it?
- Do they need extra instructions?
- Is it delivered to their inbox?
- How do they log into wherever you decided to host this product?
It's a lot to consider, but SO worth it! Hear all about how I made $60,000 with an all-access pass in my 2020 summit here.
Stage 7: Promotion
Stage 7 is all about promoting the event you've worked so hard to create. This is where all of the work in Stages 1-6 becomes worth it!
I recommend allowing 2-3 weeks for promoting a virtual summit. There are a few pieces of promotion to consider:
- Your own promotion strategy - Are you going to promote to your email list? Social media channels? Will you run paid ads? Decide your own strategy first, create your promotion resources (or grab my templates), and then move on to the next steps.
- Speaker promotion strategy - Like we covered before, make it insanely easy for them to share with swipe copy, graphic templates, a sharing schedule, and a whole lot of encouragement.
- Affiliate promotion strategy - If you'll be using affiliates outside of your speakers, you'll need a plan for them as well. You'll also need to tweak your speaker swipe copy to be a good fit for affiliates. Keep in mind that it's only worth having extra affiliates if these people have an audience very similar to your summit audience.
Overall, in Stage 7, you'll make your marketing plan, create the resources, schedule your own promotion, and distribute resources to speakers and affiliates.
Learn more about how to promote your virtual summit here.
Stage 8: Live event
You made it to the live event! This is where transformation happens.
Like we mentioned earlier, live summits are generally 3-5 days long and if this is your first summit you'll want to stay around 20 speakers.
Even if you've gone over everything we covered today, grab my templates to help, and feel like you know exactly what you're doing, plan to be BUSY during summit week.
Do not plan anything else. Don't have any appointments to go to. Don't have anything else on your to-do list.
You'll be answering a ton of questions, engaging with attendees, supporting speakers, watching for (and fixing) tech glitches, and more.
If you'll have chat boxes on your presentation pages, you or a team member will need to be present in each one to moderate the chat and make sure your attendees are feeling well-supported.
The live event is a busy week. No matter how much planning you do ahead of time. (But it's SO worth it)
Stage 9: Event wrap-up
We're almost done! Stage 9 is the event wrap-up.
Wrapping up a virtual summit includes things like:
- Redirecting certain pages - For example, if you don't want people registering once the summit is over, you may choose to redirect the registration page to a coming soon page. If you don't want them to purchase the all-access pass, you'll redirect that as well.
- Making a decision about your Facebook group - You have the choice of either archiving your Facebook group and saving it for next time or making a new plan for it. If you've built an engaged community, it's not a bad idea to use it as an ongoing marketing strategy and continue to nurture your new leads.
- Speaker wrap-up - Send a wrap-up email to your speakers. Thank them for their time, send their affiliate payouts, and tie up any loose ends.
- Cart close - Do a cart close push of your all-access pass (or whatever you're selling) and get those final sales recorded.
- Tag new subscribers - Make sure that the attendees who signed up for your summit get added to your main email list and/or sent through a funnel.
- Review your results - Take some time to review how the event went and compare it to your goals. Think about what worked well, what didn't, and what you can do differently next time.
Stage 10: Post-summit profits
This one is fun. Just because your summit is over doesn't mean you're done making money.

I highly recommend launching a related offer to them once your summit is over. You can either:
- Launch on the final day of your summit
- Launch the week after, or
- Give them a couple of weeks of nurture content and then launch
This is an insanely effective way to get even more out of your summit and it works for any business model. Check out the resources below for more details specific to what you offer:
If you don't have anything to sell after your summit, I've got a simple strategy for you. Pay attention during the summit for questions that come up that aren't answered in a presentation. Then, create something simple like a paid workshop or workshop series that you can host live a couple of weeks after the summit. It's simple for you to set up and a great way to get an extra income boost.
Go plan your virtual summit!
I know this was a lot to cover and quite the process. But my hope is that it has given you a better idea of what all goes into a profitable and successful virtual summit.
From here, dive into the resources linked throughout the post to take the strategies even deeper and get to work with your summit planning!
Resources
- Summit Host Hangout Facebook group
- Virtual Summit Prep Timeline
- ClickFunnels
- Thrivecart
- Deadline Funnel
- Content Snare
Pin it for later!

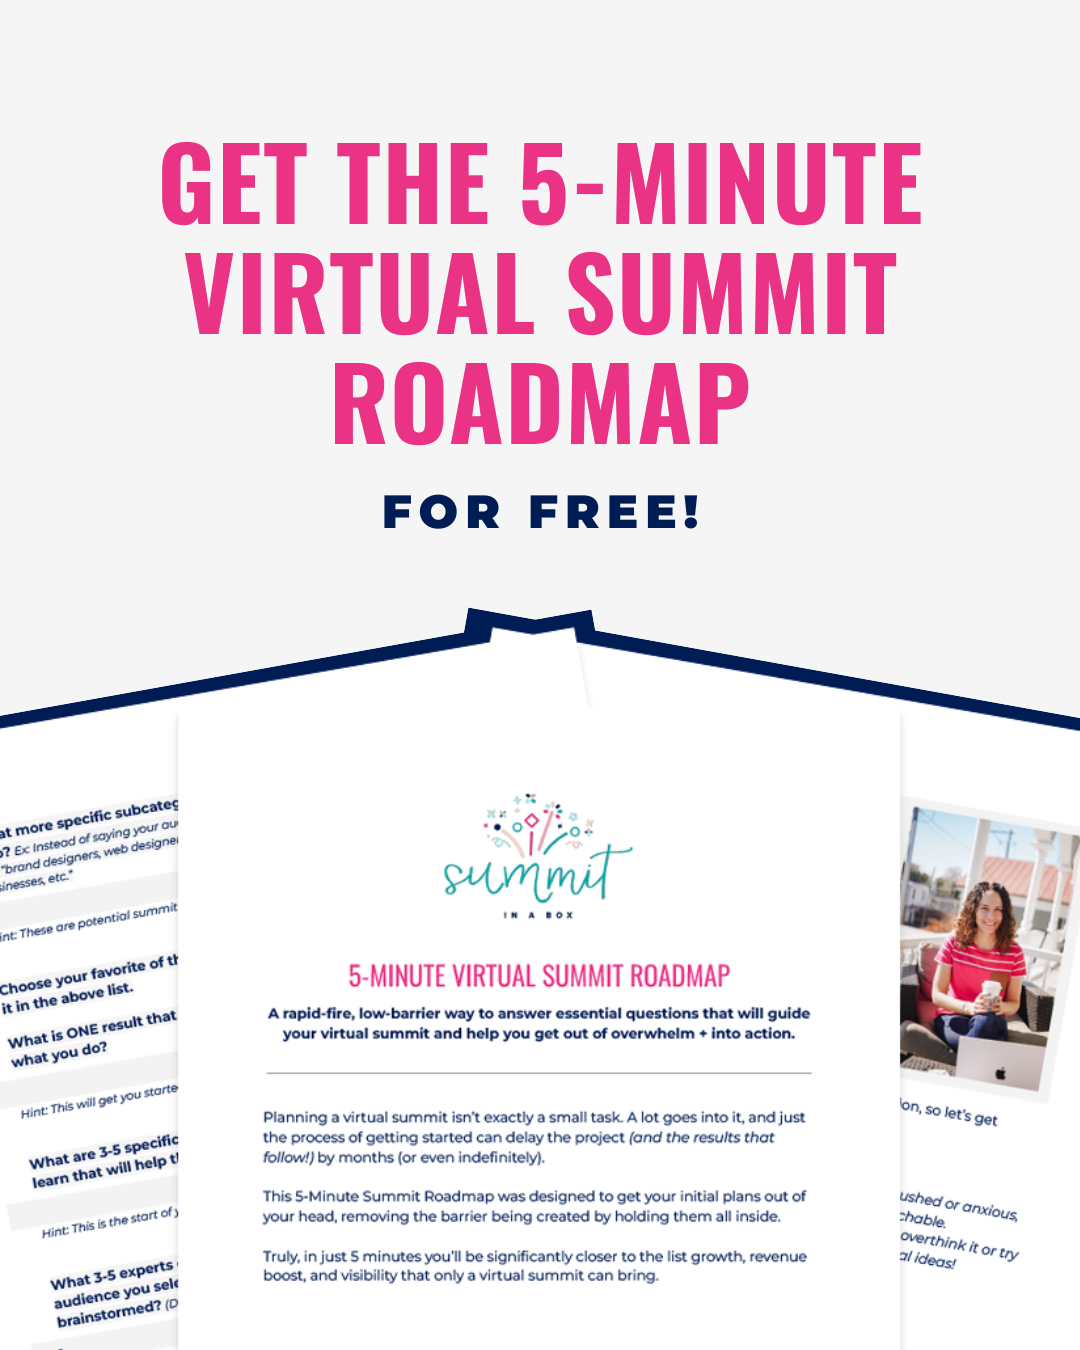
5-Minute Virtual Summit Roadmap
The 5-Minute Summit Roadmap leads you through the 7 essential questions that will guide the rest of your summit planning process and help you finally start making meaningful progress toward a profitable event.